

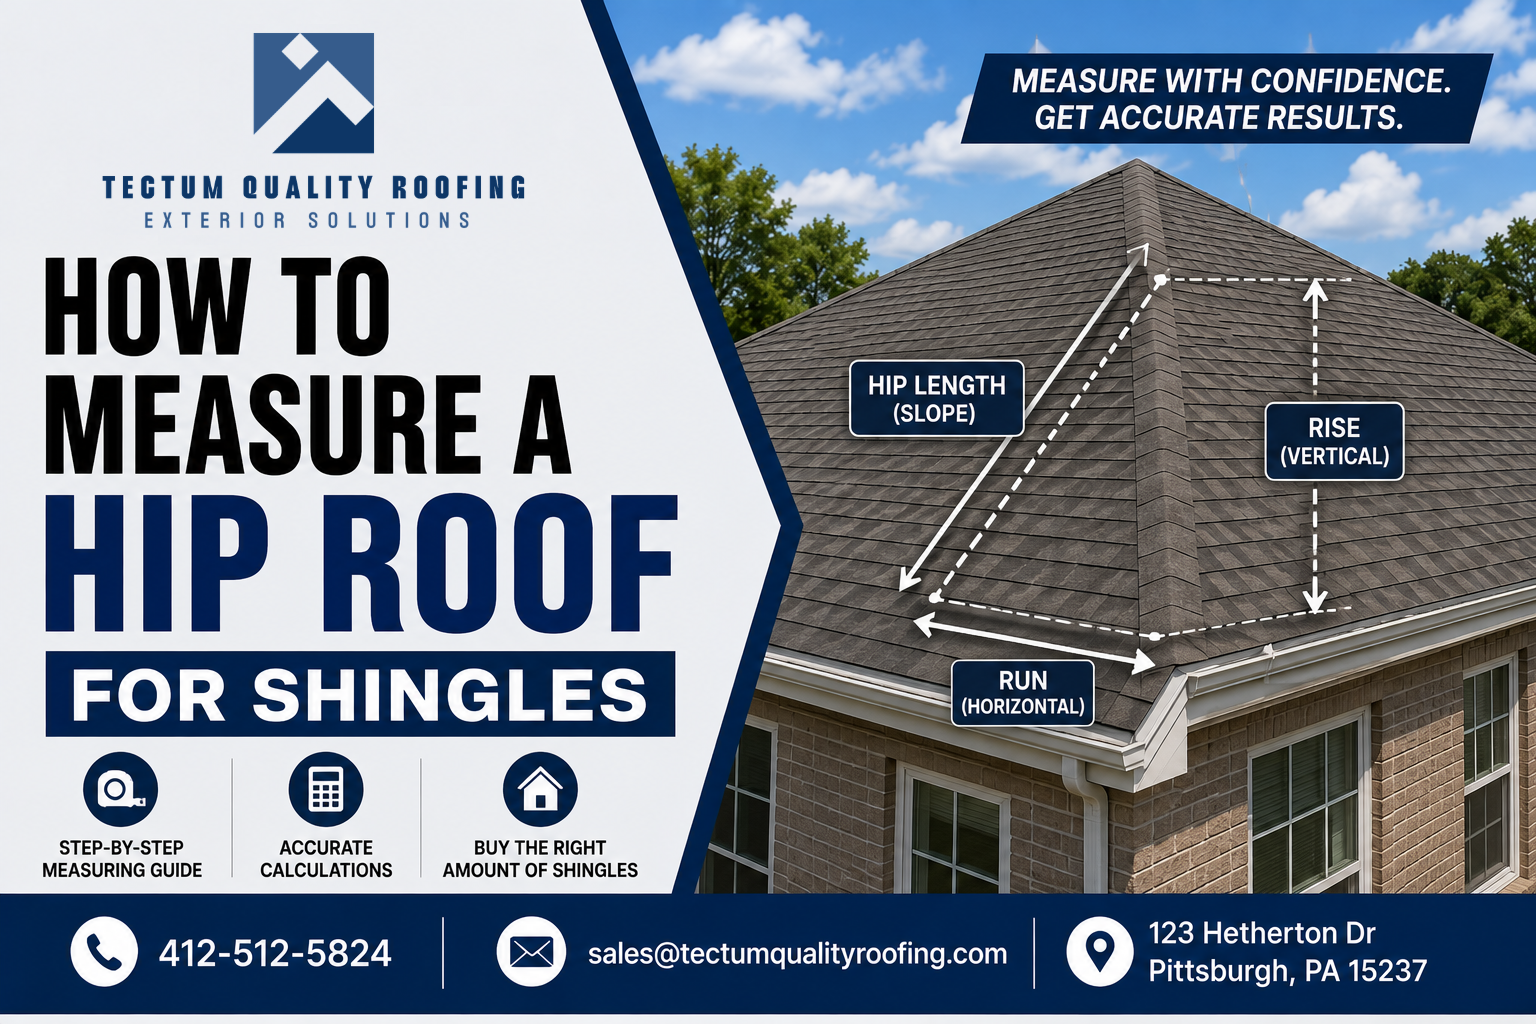
How to Measure a Hip Roof for Shingles
Measuring a hip roof correctly is one of the most important steps before ordering shingles. A small mistake in your measurements can leave you short on materials or with far more shingles than you need.
The good news is that you do not need complicated equipment to measure a hip roof. With a tape measure, ladder, calculator, notepad, and a roof pitch measurement, you can get a reliable estimate from the job site.
This guide explains how to measure a hip roof for shingles, including how to measure each roof section, calculate the total square footage, account for the roof pitch, and add the right amount of waste.
What You Need Before Measuring
Before you climb onto the roof, gather:
- Tape measure
- Ladder
- Safety equipment
- Notepad or phone for recording measurements
- Calculator
- Roof pitch gauge or pitch-measuring tool
- A copy of the roof plan, if available
If the roof can be measured safely from the ground or from the attic, use that approach whenever possible. Do not climb onto a wet, icy, damaged, or excessively steep roof.
What Is a Hip Roof?
A hip roof has slopes on all four sides of the building. Unlike a simple gable roof, it does not have vertical triangular end walls.
Because a hip roof contains several sloping sections, measuring it means calculating the area of each section and adding those areas together. The basic measurements are the length and width of each roof plane, followed by an adjustment for the roof’s pitch.
Step 1: Measure the Building Footprint
Start by measuring the length and width of the house. If the roof has different sections, such as an addition or garage, measure those areas separately.
For example, suppose the main part of the house is:
- Length: 50 feet
- Width: 30 feet
The flat footprint would be:
50 × 30 = 1,500 square feet
However, this is not the actual surface area of the shingles because the roof slopes upward.
If there are roof overhangs, include them in your roof measurements. Measuring only the walls can underestimate the amount of roofing material required.
Step 2: Divide the Hip Roof Into Sections
The easiest way to measure a hip roof for shingles is to break the roof into simple shapes.
Most hip roofs can be divided into rectangles and triangles. Measure each roof plane separately and write down the dimensions.
For a basic rectangular hip roof, you may have:
- Two large rectangular roof planes
- Two triangular hip sections
More complicated roofs may contain several additional sections. Treat each section as its own measurement rather than trying to calculate the entire roof in one step.
Step 3: Calculate the Flat Area
Once you have your measurements, calculate the flat or horizontal area of each section.
For a rectangle:
Length × Width = Area
For example:
25 feet × 15 feet = 375 square feet
For a triangle:
Base × Height ÷ 2 = Area
Add the areas of all the sections together to get the total horizontal roof area.
At this point, the number is still not the actual sloped surface area. You need to account for the roof pitch.
Step 4: Measure the Roof Pitch
Roof pitch tells you how steep the roof is. It is usually expressed as the number of inches the roof rises vertically for every 12 inches of horizontal run.
For example, a 6/12 pitch rises 6 inches for every 12 inches of run.
Common roof pitches include:
- 4/12
- 5/12
- 6/12
- 7/12
- 8/12
- 9/12
- 10/12
You can measure the pitch using a roof pitch gauge, digital tool, or by taking measurements from inside the attic.
The pitch matters because the sloped roof surface is larger than the horizontal footprint.
Step 5: Apply the Roof-Pitch Factor
Once you know the roof pitch, multiply the horizontal area by the appropriate pitch factor.
For example, a 6/12 roof has a pitch factor of approximately 1.118.
If your calculated horizontal area is 1,500 square feet:
1,500 × 1.118 = 1,677 square feet
That gives you an approximate actual roof surface area before adding material for waste.
For accuracy, use a reliable roofing calculator or pitch-factor chart for the exact roof pitch.
Step 6: Calculate Roofing Squares
Roofing materials are commonly sold by the square rather than by individual square feet.
One roofing square equals 100 square feet of roof area.
Using the example above:
1,677 ÷ 100 = 16.77 squares
You would then account for waste and round the material quantity appropriately.
Understanding roofing squares makes it easier to compare your measurements with the quantities listed on shingle packaging and supplier estimates.
Step 7: Add Waste for Cutting and Installation
You should not order shingles based only on the exact calculated roof area. A hip roof requires additional material because shingles must be cut around hips, edges, valleys, penetrations, and other roof details.
For many straightforward roofs, contractors commonly allow around 10% waste, although the appropriate amount depends on the roof’s complexity, pitch, layout, and installation method.
For example:
16.77 squares × 10% = 1.68 squares of waste
16.77 + 1.68 = 18.45 squares
The final order may need to be rounded according to the manufacturer’s bundle coverage and the supplier’s selling units.
Step 8: Measure Hips, Ridges, and Other Materials
Shingle coverage is only part of the material estimate. A hip roof may also require:
- Hip and ridge cap shingles
- Starter shingles
- Underlayment
- Ice and water protection where required
- Drip edge
- Flashing
- Ventilation materials
- Roofing nails
Measure the hip and ridge lengths separately when estimating these materials.
Do not assume that the amount of field shingles automatically tells you how many hip and ridge caps you need.
A Simple Example
Suppose you are measuring a rectangular hip roof over a 50-by-30-foot house.
The horizontal area is:
50 × 30 = 1,500 square feet
The roof has a 6/12 pitch, so using a pitch factor of approximately 1.118:
1,500 × 1.118 = 1,677 square feet
Convert the surface area into roofing squares:
1,677 ÷ 100 = 16.77 squares
If you allow 10% for waste:
16.77 × 1.10 = 18.45 squares
So the estimated requirement is about 18.5 roofing squares, before checking the exact shingle coverage, starter requirements, hip and ridge material, and other accessories.
This example is simplified. A roof with multiple levels, dormers, valleys, or unusual shapes should be measured section by section.
Common Measuring Mistakes to Avoid
When you measure a hip roof for shingles, avoid these common errors.
Measuring Only the House Walls
The roof usually extends beyond the exterior walls because of the eaves. Make sure the roof overhang is included in your measurements.
Ignoring Roof Pitch
Using the building’s footprint without adjusting for pitch will underestimate the actual roof surface.
Forgetting Roof Additions
Garages, porches, extensions, and lower roof sections should be measured separately.
Ordering Without Waste
Cutting shingles creates waste, especially around hips and other complicated areas. Always allow a reasonable waste percentage.
Forgetting Starter and Ridge Materials
The field shingle calculation does not cover every roofing component. Make separate measurements for starter strips and hip and ridge caps.
Can You Measure a Hip Roof From the Ground?
In some cases, yes. If the roof is straightforward, you can measure the building dimensions from the ground and determine the roof pitch separately.
This approach can be useful when the roof is too steep, wet, damaged, or otherwise unsafe to walk.
For more complicated roofs, however, ground measurements may not provide enough information. A professional roofer can take detailed measurements and account for roof sections that are difficult to see from ground level.
Final Thoughts
Learning how to measure a hip roof for shingles comes down to breaking the roof into manageable sections, calculating the horizontal area, adjusting for pitch, converting the result into roofing squares, and allowing for installation waste.
Take your time with every measurement and double-check your numbers before ordering materials. For a simple roof, the process can be straightforward. For a large or complicated roof, professional measurement can help prevent costly material shortages and ordering mistakes.